Qmee Recipes – Easter Chocolate Bunny Recipe
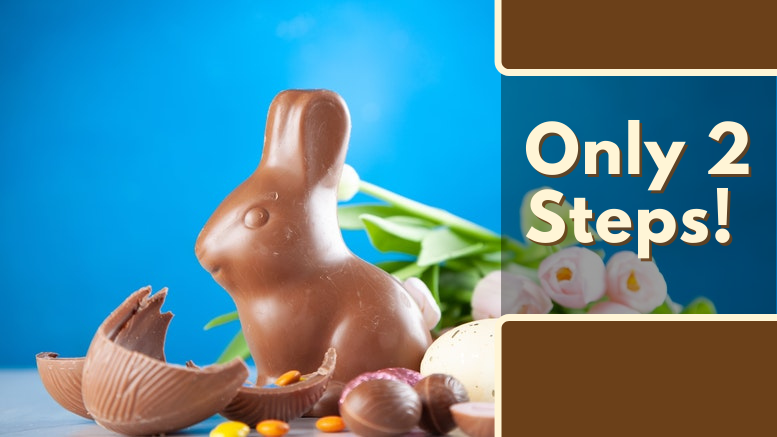
Does making a cute chocolate bunny in less than 3 steps sound too good to be true? Well, we’ve got an amazing 2-step Easter bunny recipe to make dreams a reality – you read that right, only 2 steps! You’ll be in a sea of delicious chocolate bunnies before you can say “I’ve pulled the rabbit out of the hat”!
Let’s hop straight into it!
What you’ll need:
- Chocolate bunny mold (can be bought online – check our deals to see if you can get some cash off!)
- 5 ounces of good quality dark/milk chocolate (or half of each)
What you’ll need to do:
Step 1 – Melting the chocolate:
On low heat, break the 5 ounces of good quality dark/milk chocolate (or half and half) into a small-medium bowl over a pot of water (make sure the bowl does not touch the water). Melt until smooth, stirring often with a fork or whisk. Remove from heat, let cool down (10-15 minutes).
Step 2 – Creating your chocolate bunny
Then coat the chocolate molds, swirling it around and then tip it over to empty out the excess chocolate and let it drain for approximately 5-10 minutes. Place the mold in the freezer for approximately 10 minutes, remove and coat one more time with the melted chocolate. Repeat step 2 again.
You’re all done – no bunny business, it’s really that simple!
We hop to see you soon – Enjoy!
Notes:
Homemade chocolates stored in a tightly sealed airtight container will last 1-2 months in the fridge and 1-2 weeks in a cool room. Stored in an airtight freezer safe container they will keep for up to 6 months.
If the chocolate starts to smell off or look off in appearance, or if mold appears, it is time to discard the chocolates.
(Source)