Budget DIY Halloween Decorations
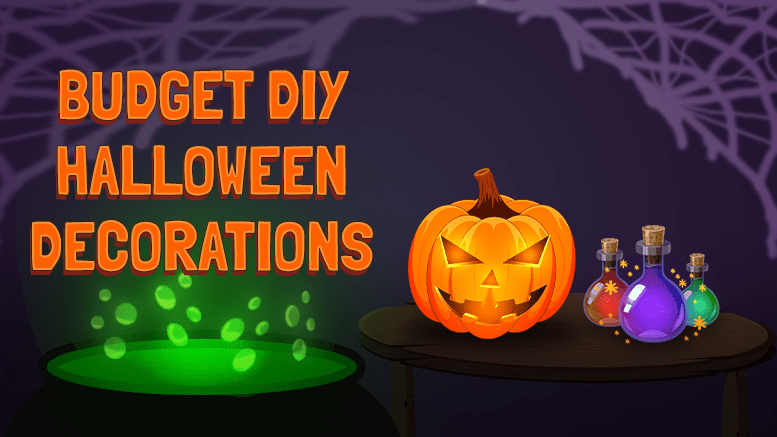
With Halloween closing in shortly, we knew that our creative readers (you guys!) would be beginning your hunt for decorations for turning your wholesome home into a horror home! So, it should come as no surprise that we wanted to share a few of our spooky budget DIY Halloween decorations with you!
#1) Paper Jack-o-lanterns
Materials:
Orange card/paper
Black card/paper
Glue
Scissors
A Pencil
How-To Make:
Step 1:
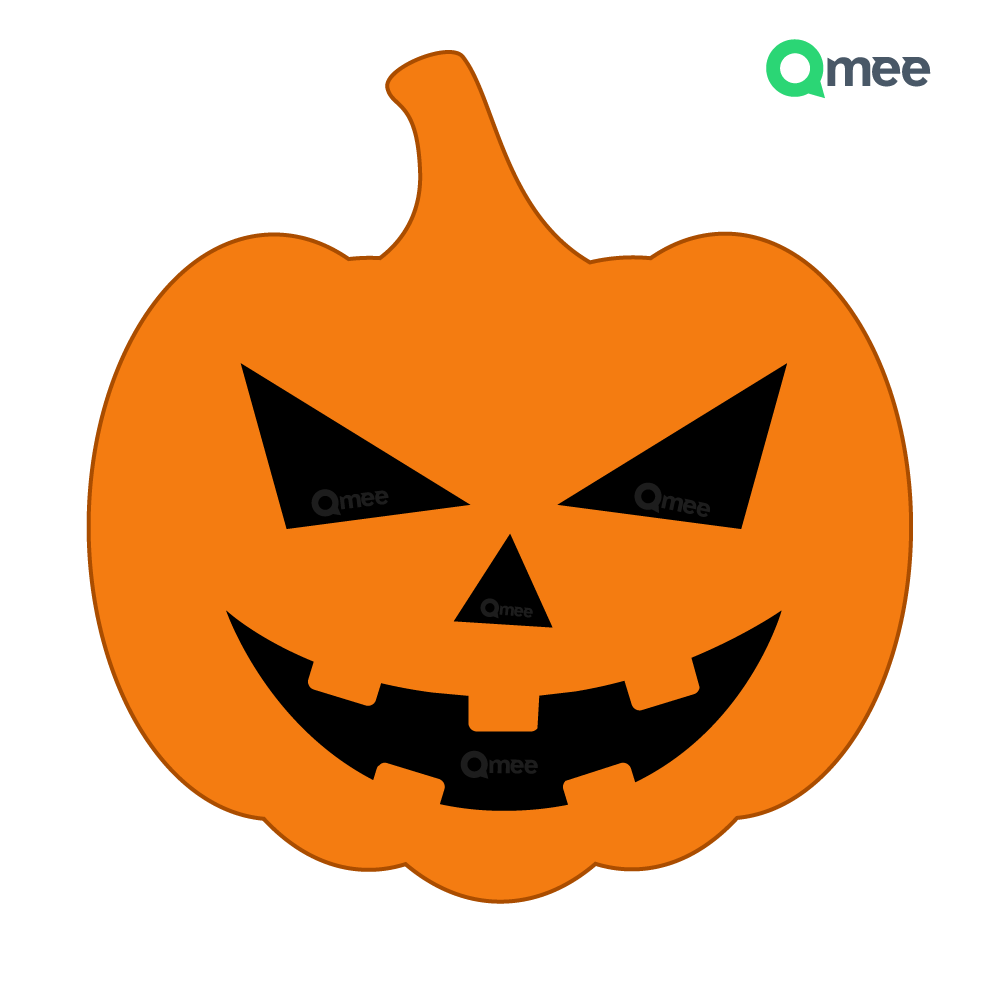
Using the pencil, draw the outline of the pumpkin on the orange card/paper – make sure to include the holes for the eyes & mouth!
If your pumpkin-sketching skills aren’t the best, feel free to save & trace our template down below.
Step 2:
Then, cut carefully around the outlines you’ve just made for the pumpkin and the holes.
Step 3:
Next, use the pumpkin shape (made on the orange card/paper) as a guide to draw the same outline on the black card/paper, and cut that one out too (without the holes!).
Don’t fret too much about cutting this exactly, if it’s too small, that’s fine, so long as it covers the holes and has the stalk at the top – more on that in the next step!
Step 4:
Then, cut the stalk off of the orange card/paper pumpkin, so that the top of the pumpkin is somewhat level on both sides (you’ll see why in a second!).
Step 5:
Now, use the glue to stick the orange pumpkin onto the black pumpkin shape, so that the eye & mouth holes show as black, as with the stalk at the top!
Congrats, you’ve done it!
#2) Creepy Eyeballs
Materials:
1x Styrofoam ball (per eyeball)
1x Toothpick (per eyeball)
1x plastic cup (per eyeball)
Sandpaper or Nail File
Thick red yarn
Scissors
PVA Glue
Small paint brush (optional)
Water-based or Acrylic paint (you’ll need black paint, plus any colors that you want for the eye color)
How-To Make:
Step 1:
Firstly, start off by sanding down any rough edges on the styrofoam ball with your sandpaper/nail file. Then, use the toothpick to poke a hole in the bottom of your plastic cup (we’ll come to that later).
Step 2:
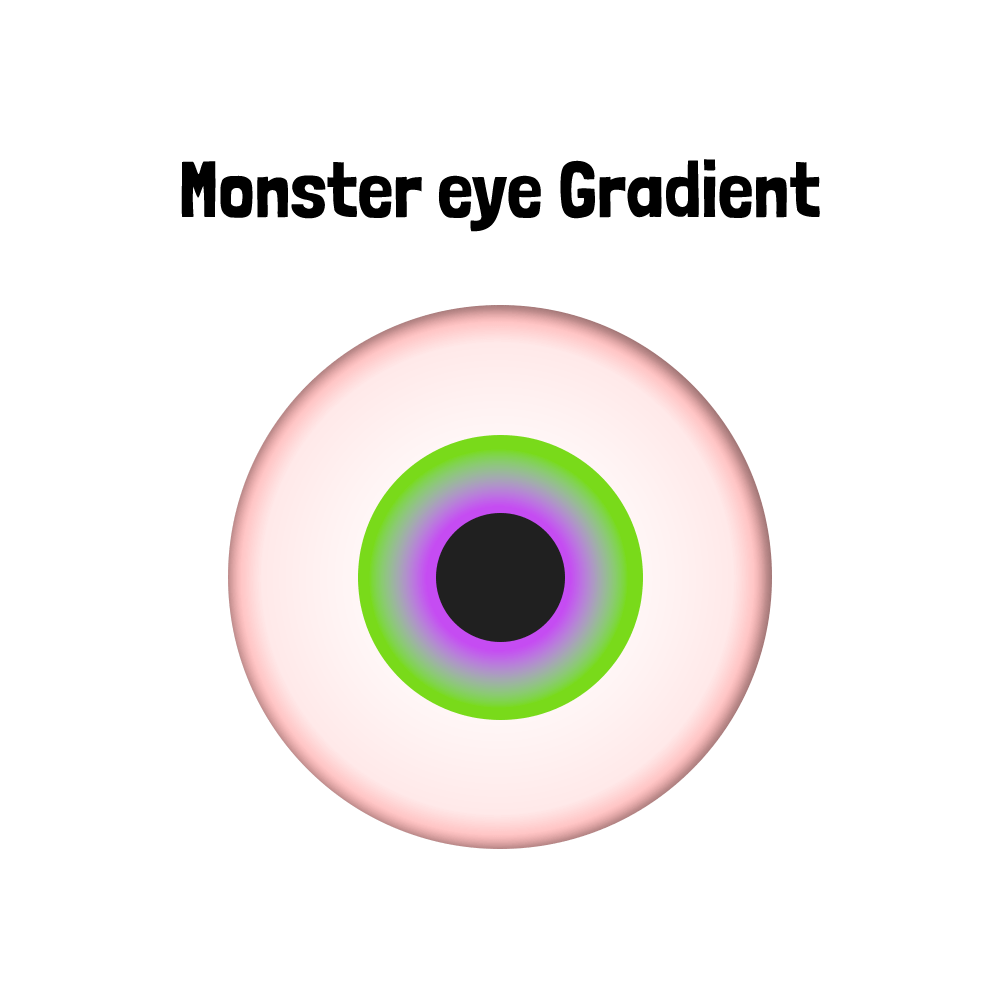
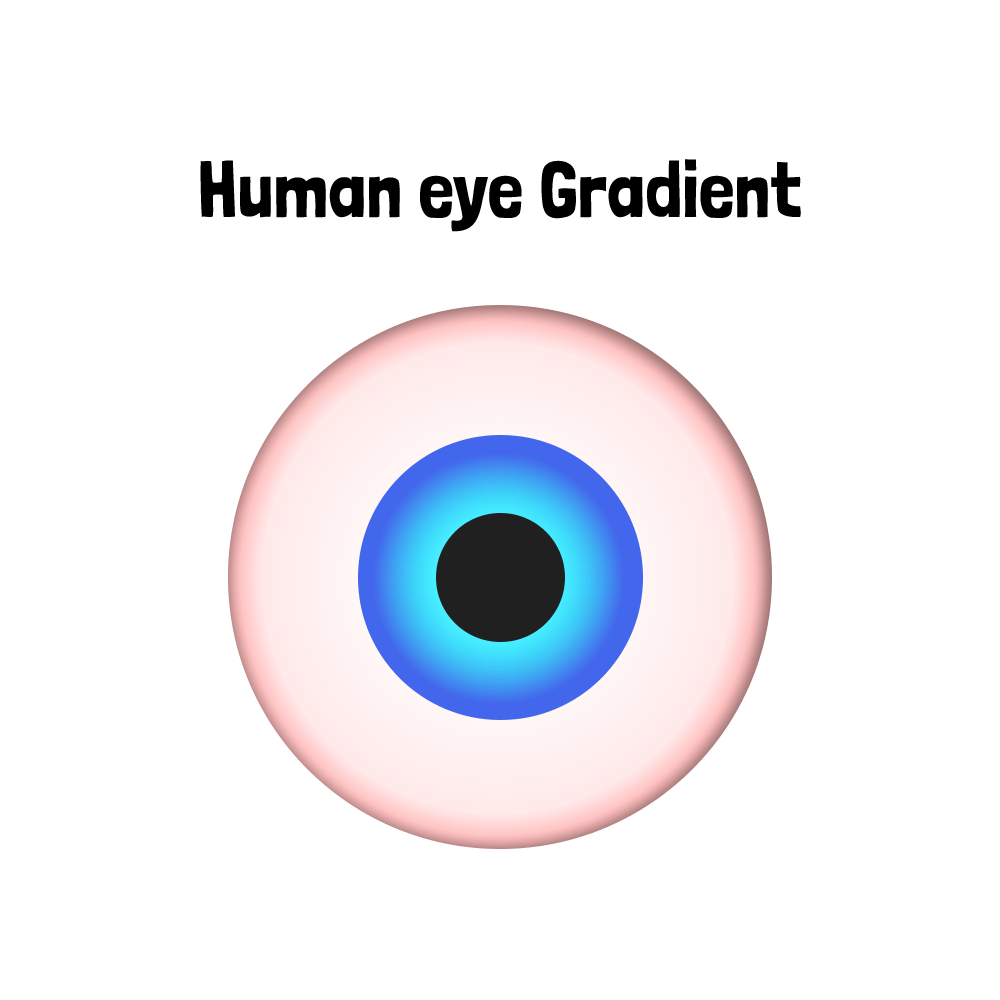
Then, paint a small black circle for the pupil. Following from this, you can then paint around the pupil with whichever colors you’d like.
We recommend using multiple shades of the same color or colors that are close, so you can give the iris a gradient effect – unless you want some crazy monster eyes!
Step 3:
Next, simply insert the toothpick into the back of the styrofoam ball, then feed it into the hole in the bottom of the plastic cup that you’d made earlier, so that it all stands upright. Then. simply leave it until the paint is completely dry.
Step 4:
Once dried, take the toothpick & the eyeball back out of the cup. Next, you’ll need to cut the red yarn to your desired length (we recommend no more than 15cm), then unfurl one end of the yarn, so that it frays.
Step 5:
Next, start by spreading the glue with your fingers (or a paintbrush, if you have one) over both the back of the eyeball and the frayed ends of the yarn (the more thinner threads that you bring forward and around the eye, the better!).
Continue to add more glue as you push forward more threads, then cover the remaining part of the eyeball with glue. Then, simply place everything back into the bottom of the plastic cup, as before, and leave it to dry.
Lastly, once everything is dry, simply remove the toothpick from the ball and voila!
#3) Mystical Potion Bottles
Materials:
1x small glass bottle (we recommend those with a spherical base and a long, narrow neck)
1x Cork (per potion bottle)
1x plastic water bottle
A Wooden skewer
A Pack of cotton balls (we recommend around 15 cotton balls per potion)
Food coloring (the colors are up to you)
Glue (optional)
Glitter (optional)
How-To Make:
Step 1:
Firstly, fill the plastic bottle with water and add your food coloring – make sure that there’s enough for the water to completely turn to your chosen color.
Step 2:
Then, begin to break apart your cotton balls so that they look more like spider webs.
Step 3:
Next, pour a splash of your food coloring mixture into the empty glass bottle. Then, with your cotton balls spread apart, push 2 or 3 of them into the mixture inside the glass bottle and swirl the cotton & the mixture around with your wooden skewer.
(Optional) You can add glitter at this stage to give it some extra flair!
Step 4:
Then, repeat the process of adding a splash of mixture, plus 2 – 3 cotton balls, until the mixture has reached the top. Then, place the cork into the top of the bottle.
(Optional) If you have children or pets, we recommend gluing in the cork, so as to avoid any potential mishaps!